How to Sign a PDF on Your Mac Without Software
Need to sign a PDF on your Mac? This guide shows you how to use a web-based tool without downloading extra software or signing up for an account.
Need to sign a PDF on your Mac? This guide shows you how to use a web-based tool without downloading extra software or signing up for an account.
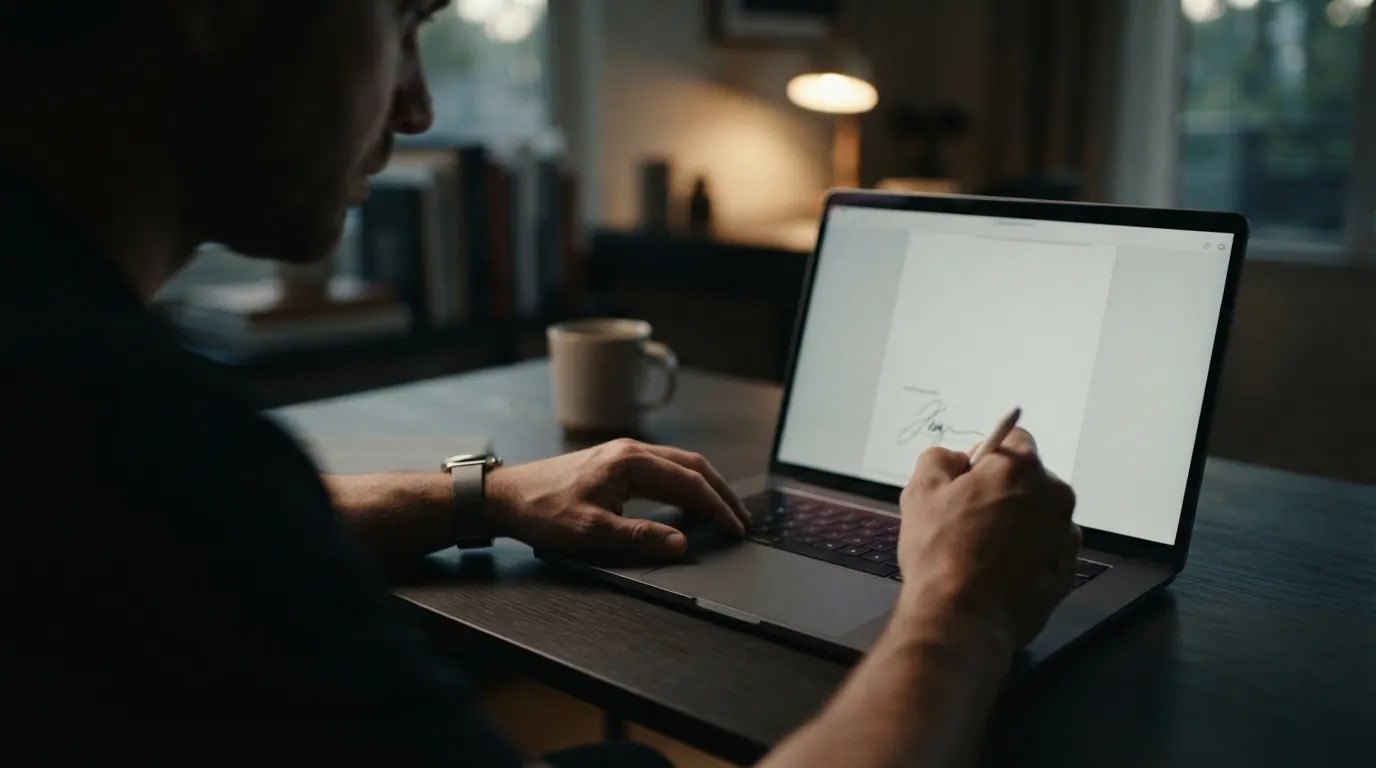
Need to sign a PDF on your Mac? You're probably looking for a fast, free way to do it without downloading extra software or signing up for another account. Maybe it's a client contract, a lease agreement, or a vendor form. You don't need to install apps or learn a complex interface just to sign one file.
This guide walks you through using a web-based tool to get your signature on a PDF from your Mac browser. No downloads, no account needed to sign, and it meets legal standards for e-signatures.
Before you upload anything, make sure your PDF is finalized. You don't want to upload an old draft or a file with typos.
What to do: Open the PDF in Preview on your Mac. Give it a quick read-through. Check all the dates, names, and numbers. Confirm it's the exact version you need to sign. For example, if it's a rental agreement, verify the move-in date and rent amount are correct. Also, make sure it's saved somewhere easy to find, like your Desktop or a specific project folder named "Client Contracts - March 2024". You'll need to upload it in the next step.
Time: 1-2 minutes.
Mistake people make: Uploading the wrong version of a document. It happens more often than you think. You sign it, send it, and then realize you sent the one with the placeholder text like "[Client Name Here]". Always double-check your file name and its contents before proceeding. A common filename error is "Contract_Draft_v2.pdf" instead of "Contract_Final_Signed.pdf".
Once your PDF is ready, you'll upload it to a web-based e-signature platform. You're using a tool directly in your browser.
What to do: Open Safari, Chrome, or Firefox on your Mac. Go to vouch.ink. You'll see an option to upload your PDF. Drag and drop your file into the designated area, or click to browse and select it from your Mac's file system. The platform processes the PDF so you can add signature fields.
Time: 30 seconds to 1 minute, depending on your internet speed and file size.
Mistake people make: Trying to upload files that aren't PDFs. While many documents can be converted to PDF, most e-signature tools only work with PDF files directly. If you have a Word doc or a Pages file, convert it to PDF first using your Mac's print function (File > Print > PDF > Save as PDF). This conversion process is typically quick, often under 10 seconds for a text-heavy document.
After uploading, the tool will display your document. Now you need to tell it where your signature, initials, or other information should go.
What to do: On the vouch.ink editor screen, you'll see a panel with different field types. Find the "Signature" field. Click on it, then drag and drop it onto your document exactly where you need to sign. You can resize it by dragging its corners. If you need to add text (like your name or date), initials, or checkboxes, repeat the process for those field types. Place them where they belong. For instance, if you're signing a lease, you might add a "Date" field next to your signature, or an "Address" field if that information isn't pre-filled.
You can also specify who needs to sign. If you're the only signer, it's a straightforward process. If you need someone else to sign, you'll enter their email address. They won't need an account to sign, either. This is useful if you're sending a contract to a client; they get an email link directly to the document. For more details on this, you can check out our post on how to sign pdf online free no account.
Time: 1-3 minutes, depending on the number of fields you need to add.
Mistake people make: Forgetting to add all necessary fields. Sometimes a document needs initials on every page, or a date field next to each signature. Review the entire document on the editor screen to make sure you've placed every required field. It's easier to add them now than to realize you missed something after signing. For example, a standard non-disclosure agreement (NDA) often requires initials on the bottom of each page to confirm review.
This is the actual signing part. You'll generate your e-signature.
What to do: Click on the signature field you just placed. A small window will pop up, giving you options to create your signature. Most platforms offer a few ways:
Once created, click "Adopt and Sign" or a similar button. Your new signature will appear in the field you placed earlier. Repeat this for any initial fields.
Time: 15-30 seconds.
Mistake people make: Overthinking the signature style. While drawing can feel more authentic, a typed signature is legally binding and often much faster. Unless a specific aesthetic is required, don't spend too much time trying to perfect a drawn signature with your trackpad. The legal standard for e-signatures focuses on intent and attribution, not artistic merit.
Your document is signed. Now you need to get it where it needs to go.
What to do: After placing all signatures and filling any other fields, look for a "Finish" or "Complete" button. Click it. The platform will then process the document. You'll typically have options to download the signed PDF to your Mac or to send it via email to other parties. If you added other signers, they will receive an email notification to sign their part. For instance, if you're sending a client contract, they'll get an email from vouch.ink with a direct link to sign.
Vouch.ink provides an audit trail with every document, free or paid. This trail details who signed, when they signed, and from what IP address. That record helps meet ESIGN/UETA compliance standards. This record helps solidify your e-signature's legal validity, offering documented proof for any future reference or dispute, much like a notary public verifies identity.
Time: 30 seconds to 1 minute.
Mistake people make: Not saving or sending the final document. It sounds obvious, but after completing the signing, some people close the browser tab without downloading the signed copy or making sure it's sent to the right people. Always download a copy for your records and confirm that anyone else who needs it has received it. This could be saving it to a cloud service like Dropbox or Google Drive, or directly to your project folder.
Web-based solutions like this can be a practical choice for many small businesses. If you're curious about different platforms, you might find our article on E-Signature Software Costs for Small Business helpful.
You can try this on your own documents at https://vouch.ink/. Every plan, including free, includes the full audit trail. Compare plans at https://vouch.ink/pricing.